How to shoot Multilayered Wedding Photos
More like gambling than any other sport usually associated with photography metaphors.
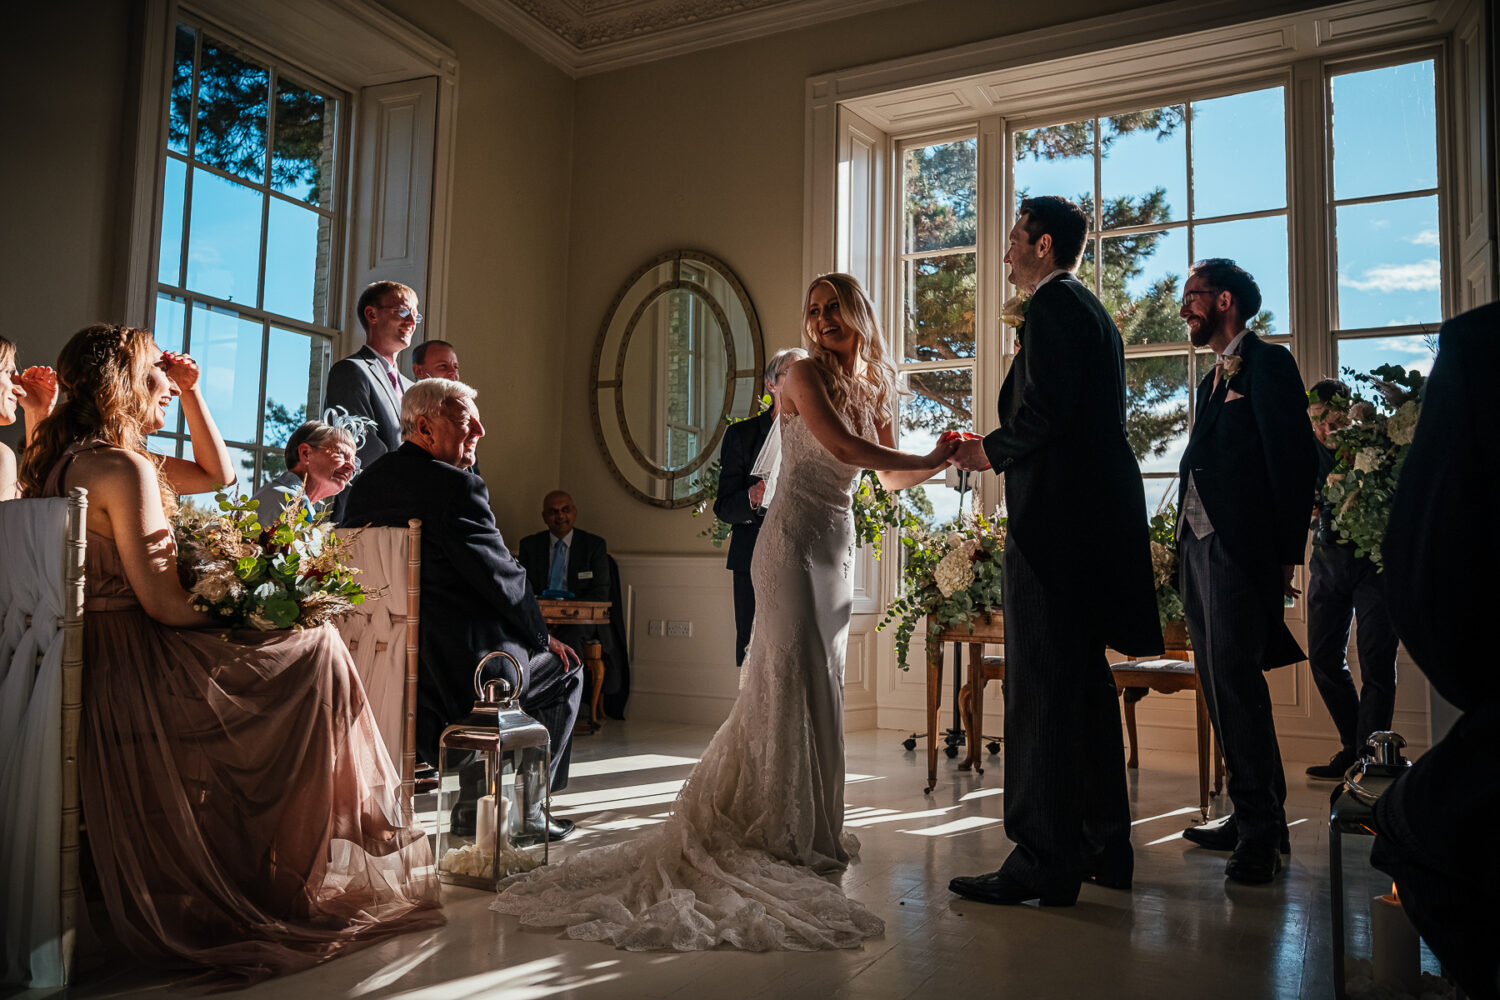
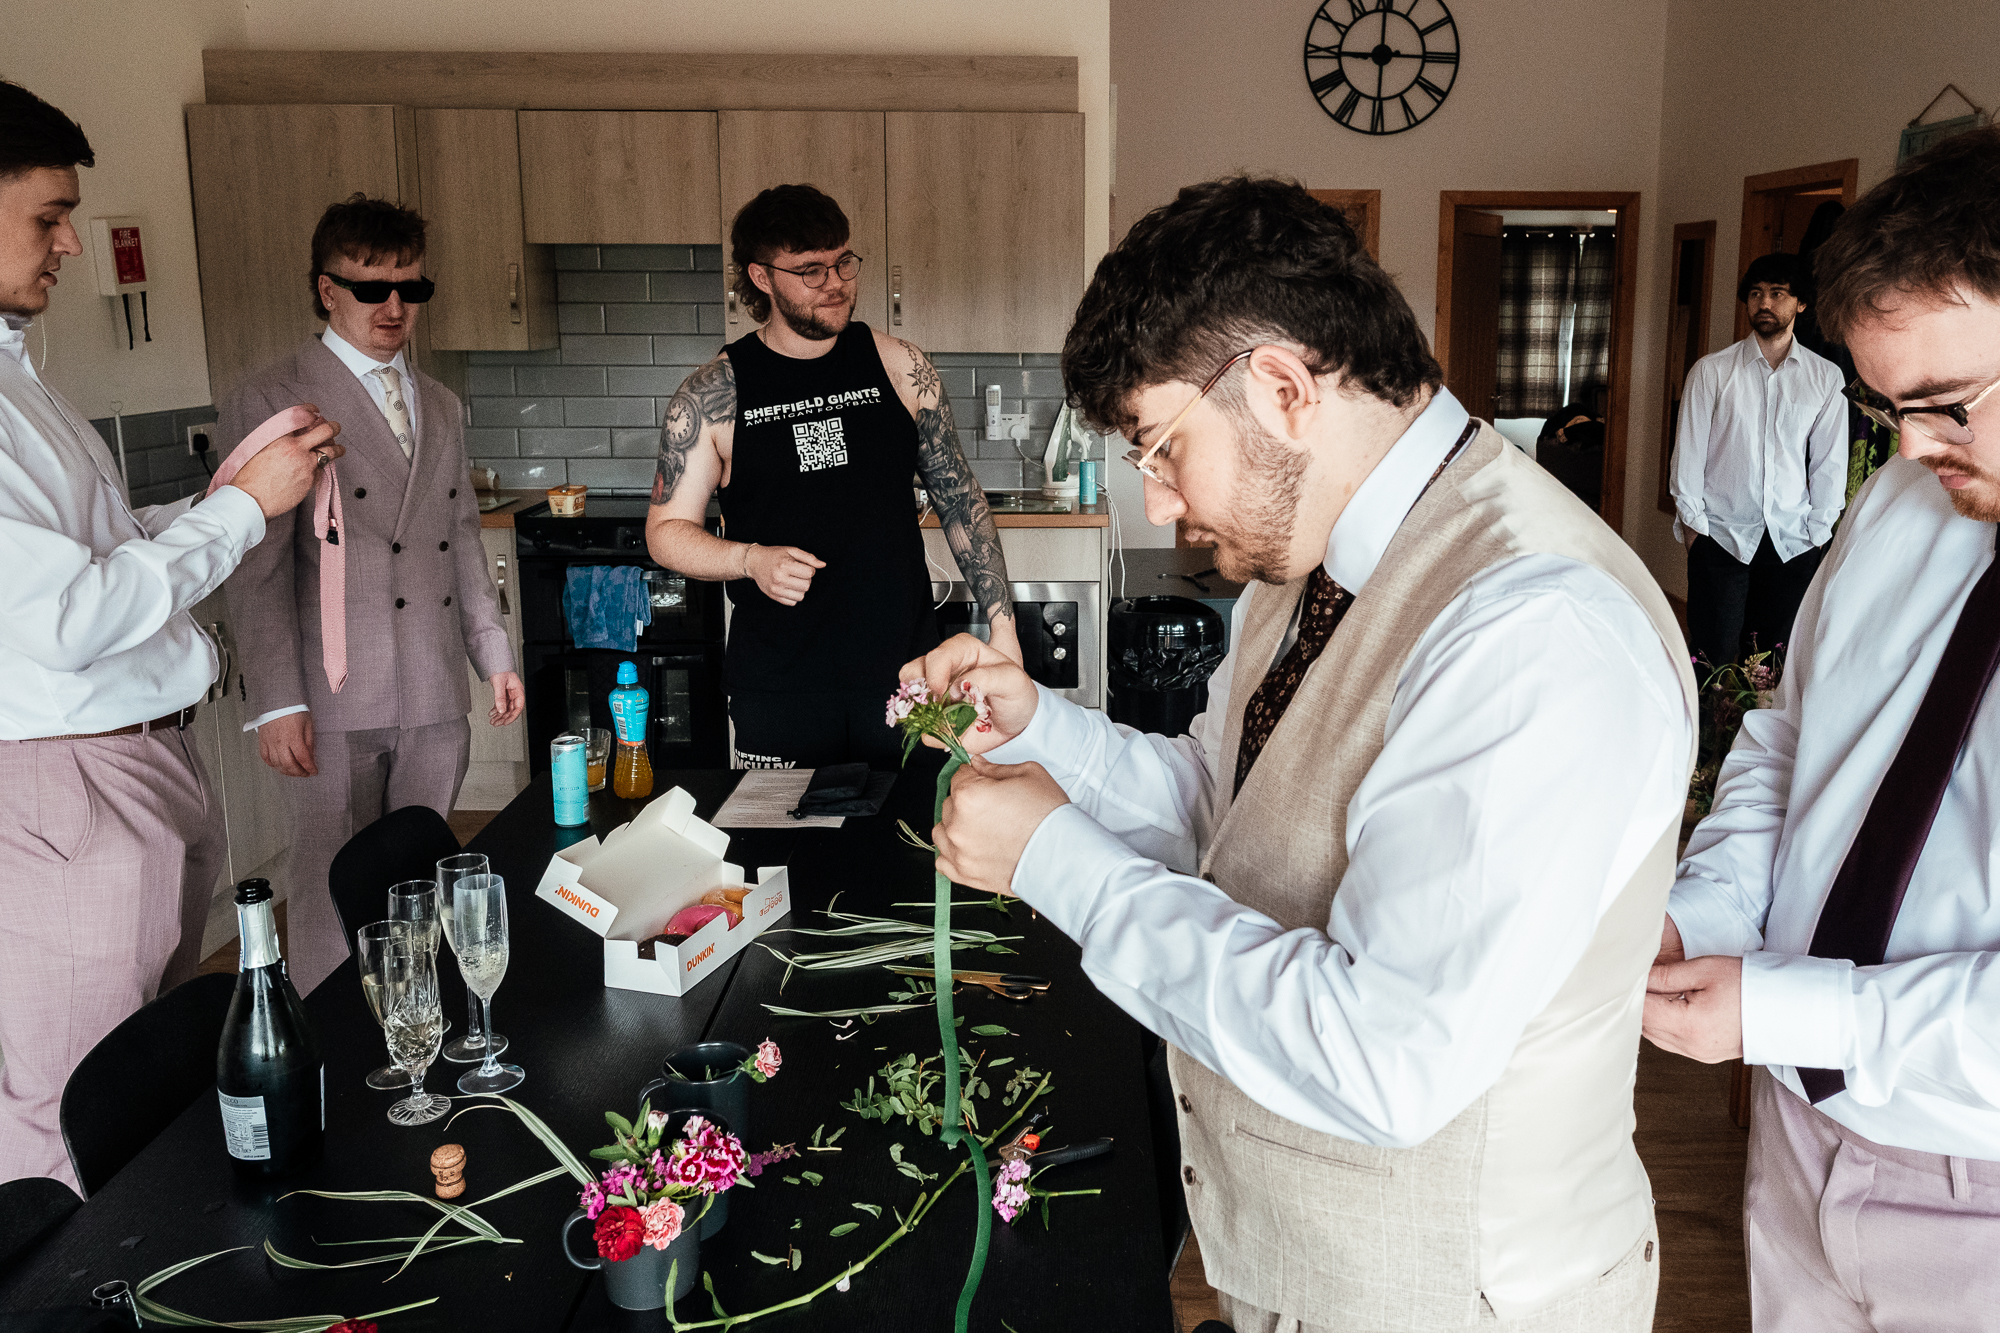
There’s a type of wedding photograph that looks effortless and isn’t. Multiple things happening at once, all of them related, none of them staged, everything fitting together like it was always going to. But it wasn’t as easy as it looks. What you’re looking at is the one frame out of forty that worked, preceded by a lot of standing in the wrong spot, and followed by whoever it was walking straight out of shot two seconds after you got there.
Most people see one of these photos and think “I need to spot moments like that” – when actually the skill is closer to construction. You’re building something out of a room that refuses to hold still, using whatever’s not moving as your scaffolding, and hoping the bit that does move arrives before you have to give up and go find the couple for their next thing.
It’s more like jazz improvisation than trying to follow a score, but, also like jazz improvisation, there are techniques that can help you land a shot.
The Anchor – what’s not going to move (or move much)?
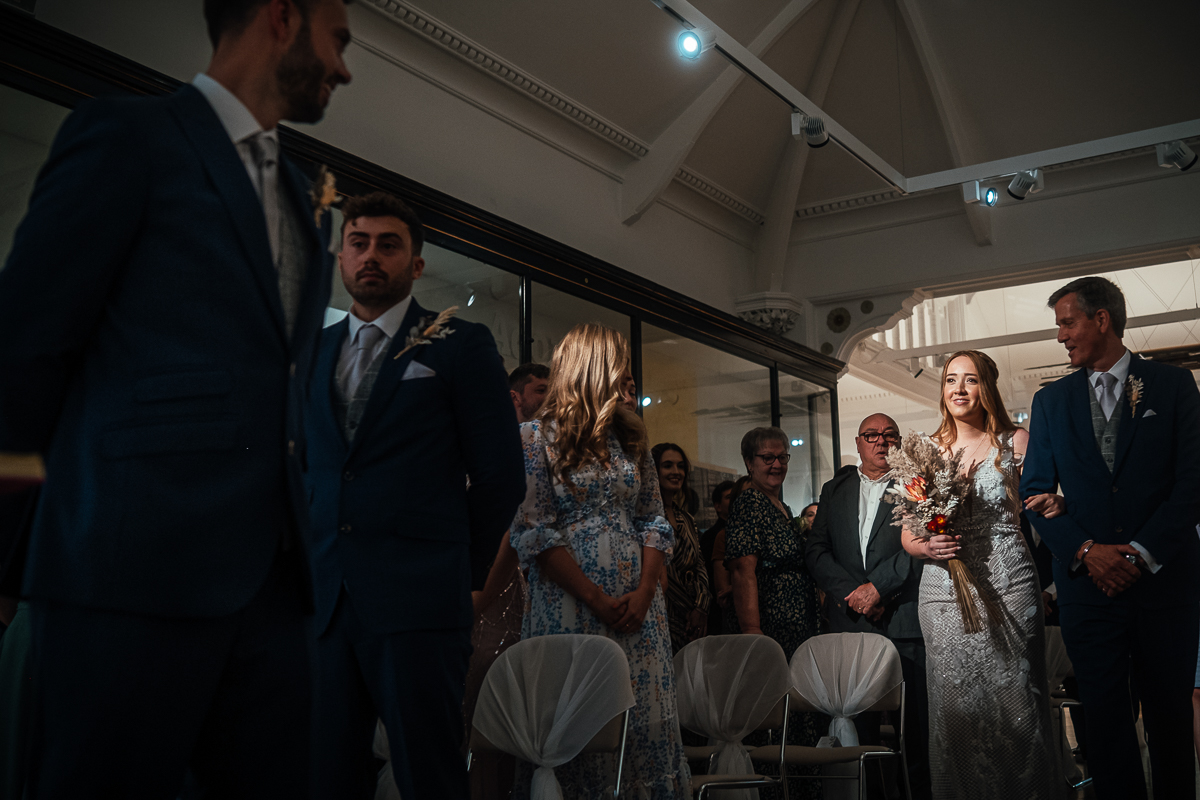
Draw as much into your frame that’s not going to move and is still part of the story. Let certain characters anchor the photo.
Obviously, it’s all possibilities and probabilities, and a major part of your composition will probably walk out of your frame before it all comes together.
There’s a very high failure rate in making an image like this. It’s rarely something you saw out of the corner of your eye and then shot.
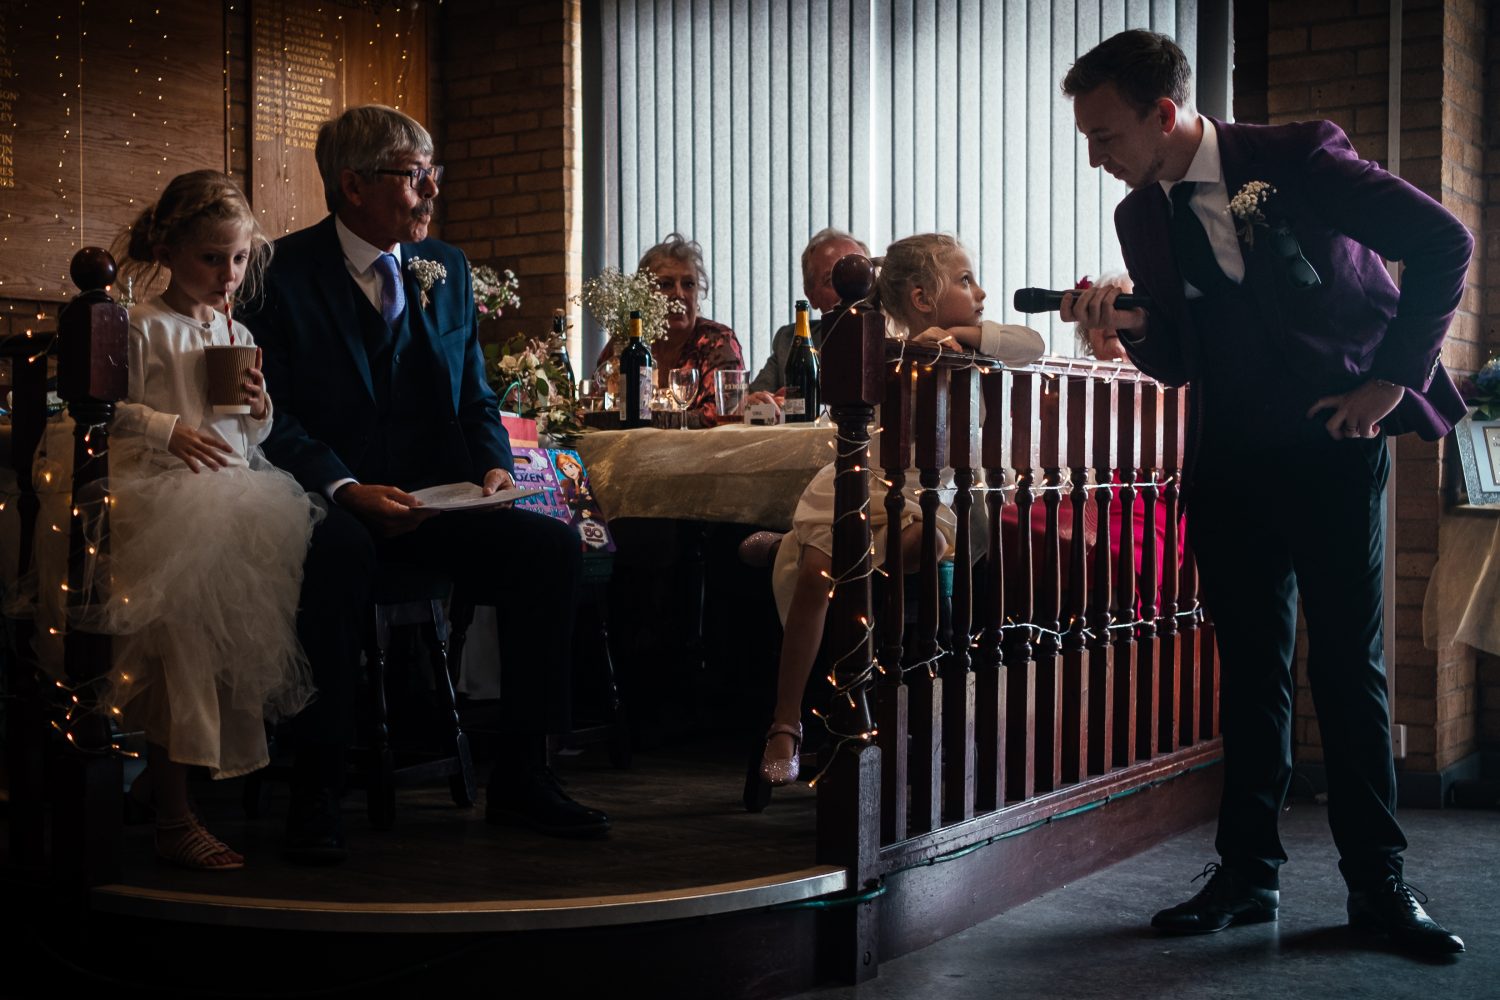
This one was easier as everything was staying resonably in place. The best man was giving his speech, the children were still as the mother is distracting them. (I’m not sure they stayed still long, though). Which means the main challenges were technical.

F/8 and be there
Or f/5.6 or f/4 if you can’t. You want to get everything possible in focus – that often means pushing the ISO high, but modern camera sensors are amazing and you can really push them. I prefer a bit of grain to not telling the story. (A trick I use is I add grain to my non-grainy photos to normalise the graininess.)
Wide angle lenses
These photos are often taken on a wide angle lens. Somewhere between 24-35mm. It helps create foreground, background and work inside the situation more. You’re rarely going to get this sort of image by standing back with a long lens.
I know a wonderful photographer called Zalmy Berkowitz who tends to work somewhere between fisheye and 35mm (and then correct in post). I would recommend checking out his work.

Everyone needs their own space – it’s sort of like Tetris
Everyone needs to be separate from each other, without overlapping and ideally given some breathing space between them and the next character. And you often find that through a series of microadjustments and continuously moving, waiting, hoping things fall into place.
Watch for reactions and interactions
This will ultimately be what ties the photo together. The relationships between characters in the image.
Even a character looking in a certain direction can help draw the eye where it needs to go. But the best images often show something happening, and the reaction to it at the same time, as they’re a self contained little story.


Keep your other eye open
The great thing about rangefinder cameras is they let you see what’s going on before it enters the frame. On a mirrorless or DSLR You can open your non-shooting eye and have a scout for what’s going on in the room.
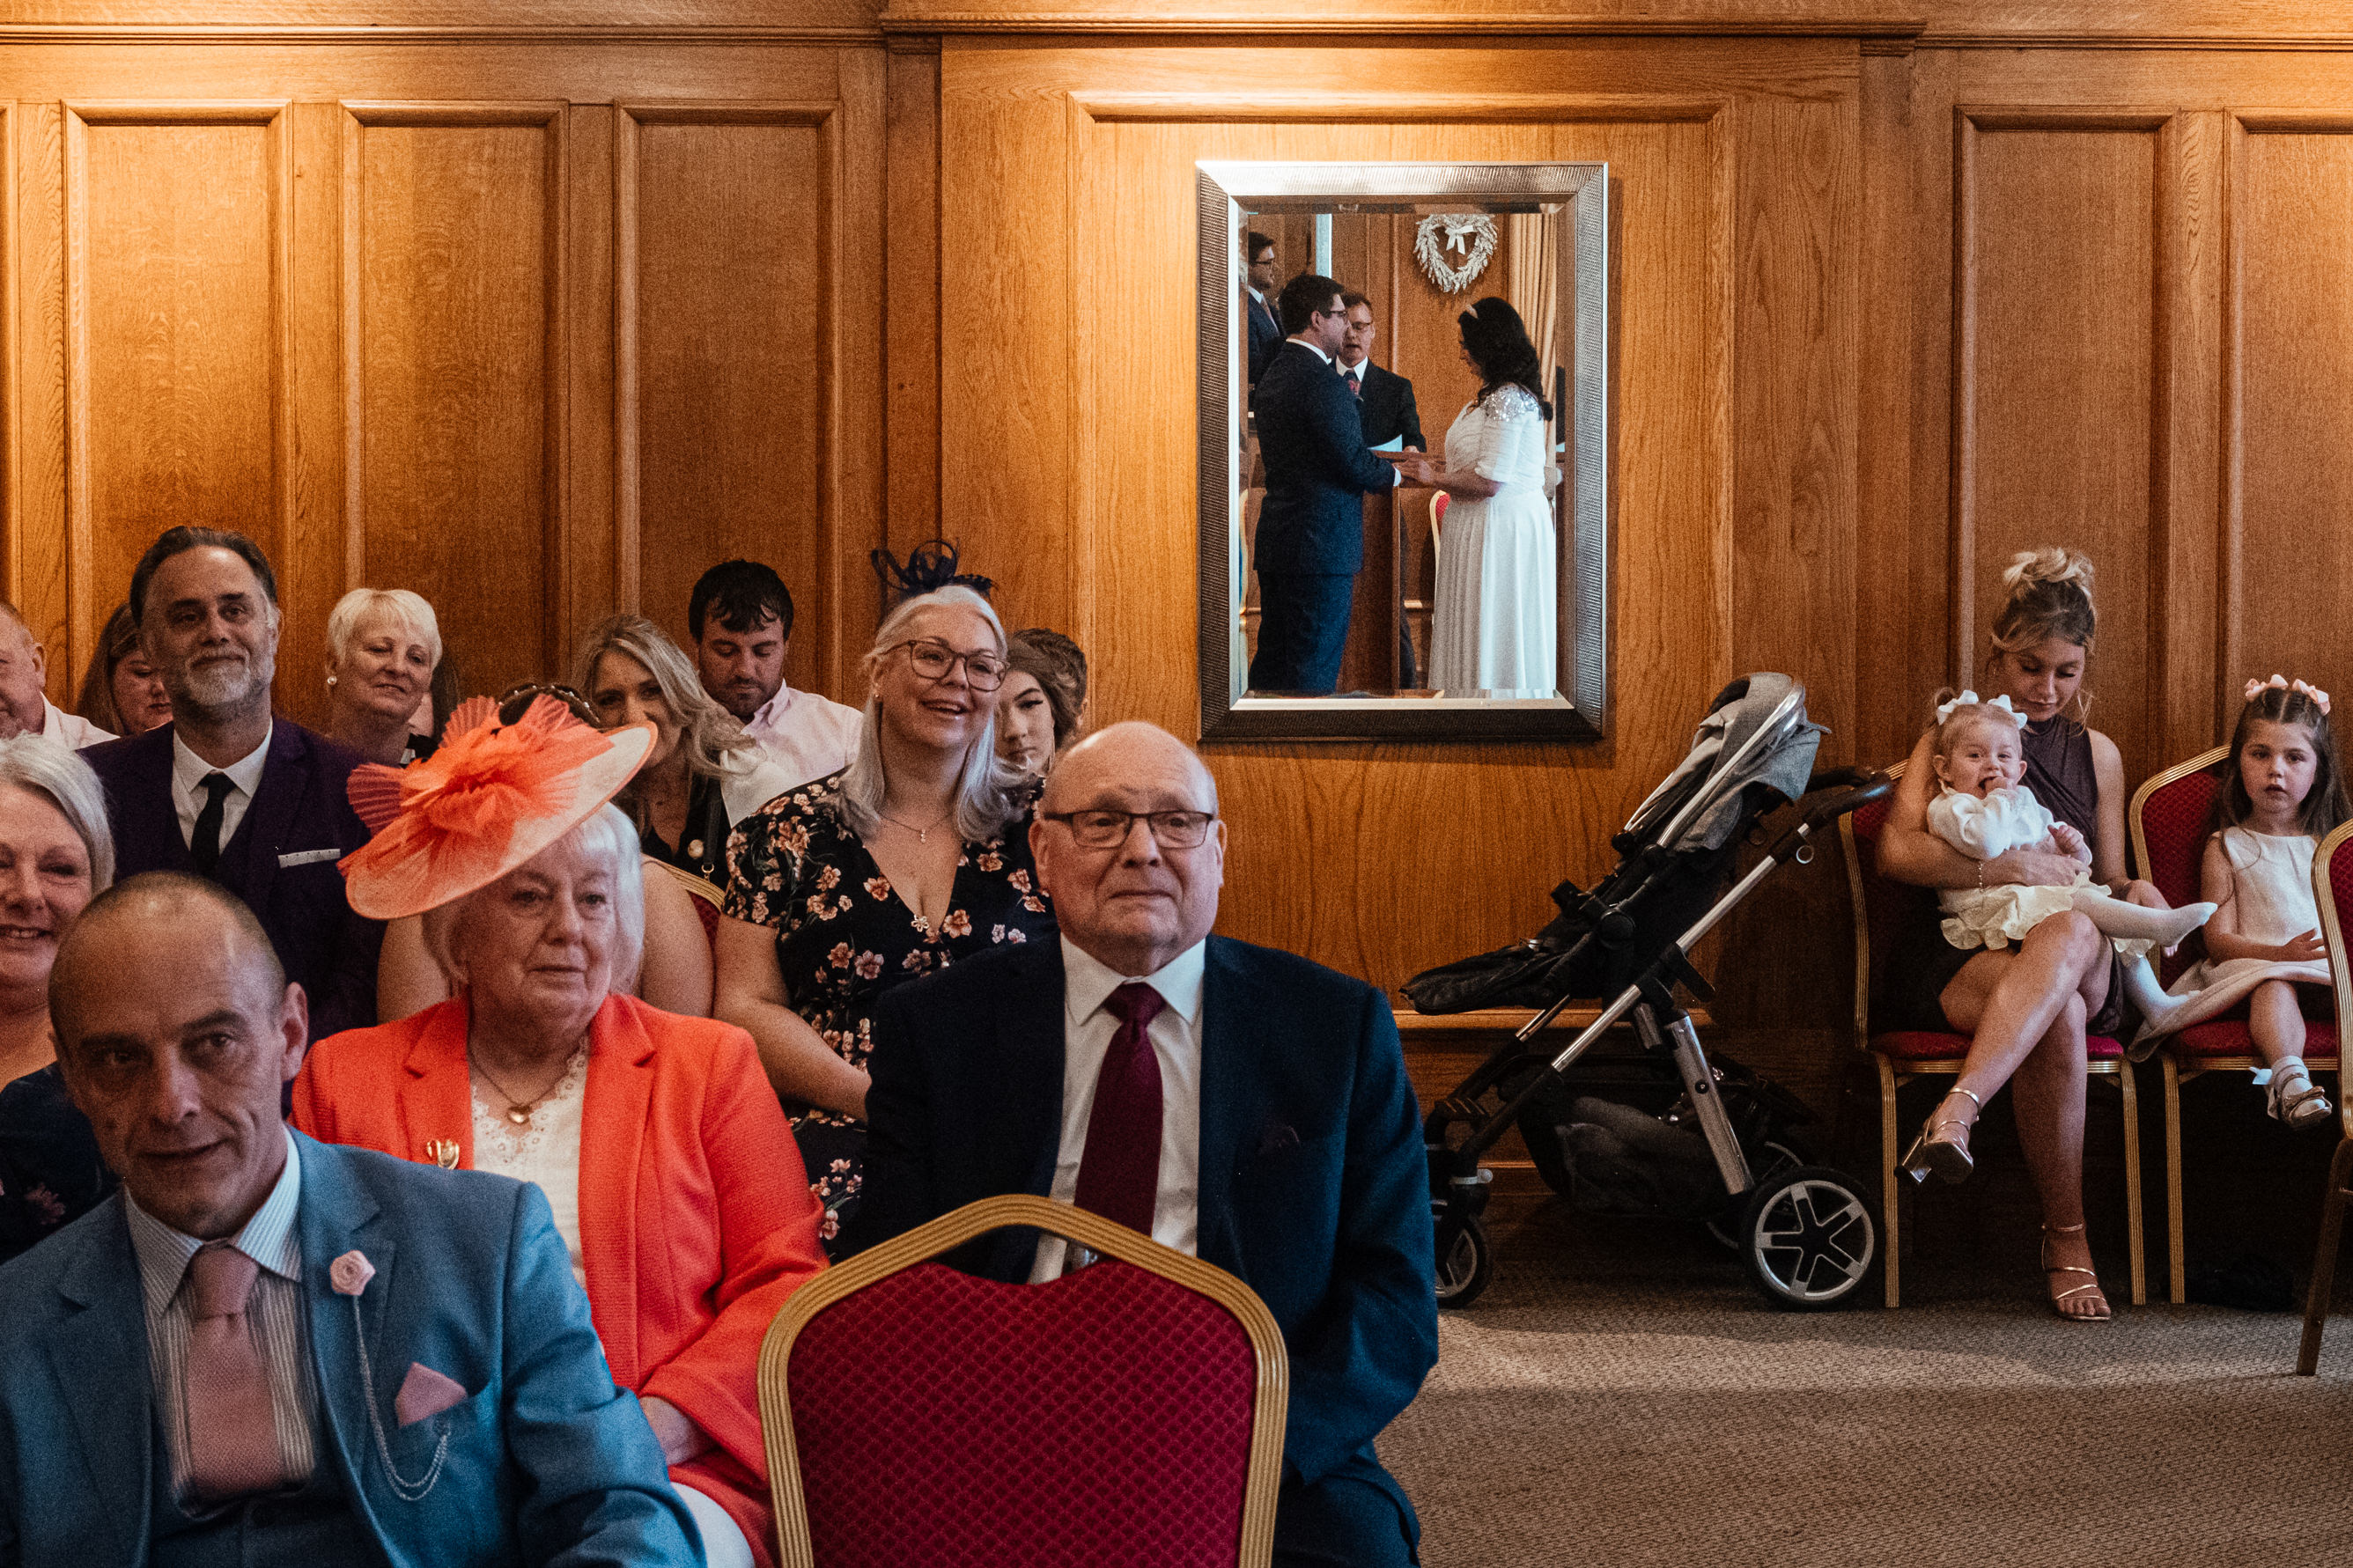
Lines, reflections, doorways, frames within frames
You can use the normal tricks of composition to slice and organise your frame. Mirrors, reflections, doorways, sloppy framing to create a cleaner composition (sounds like that’s wrong, I know, but it works).
But –
I’m going to say something controversial here that goes against conventional teaching:
Be careful – composition is a form of communication. Frames can make characters look “hemmed in.” (David Fincher used a lot of framing devices in Panic Room to communicate how trapped the characters felt. Both as part of the plot and the film’s overarching metaphor for divorce.)
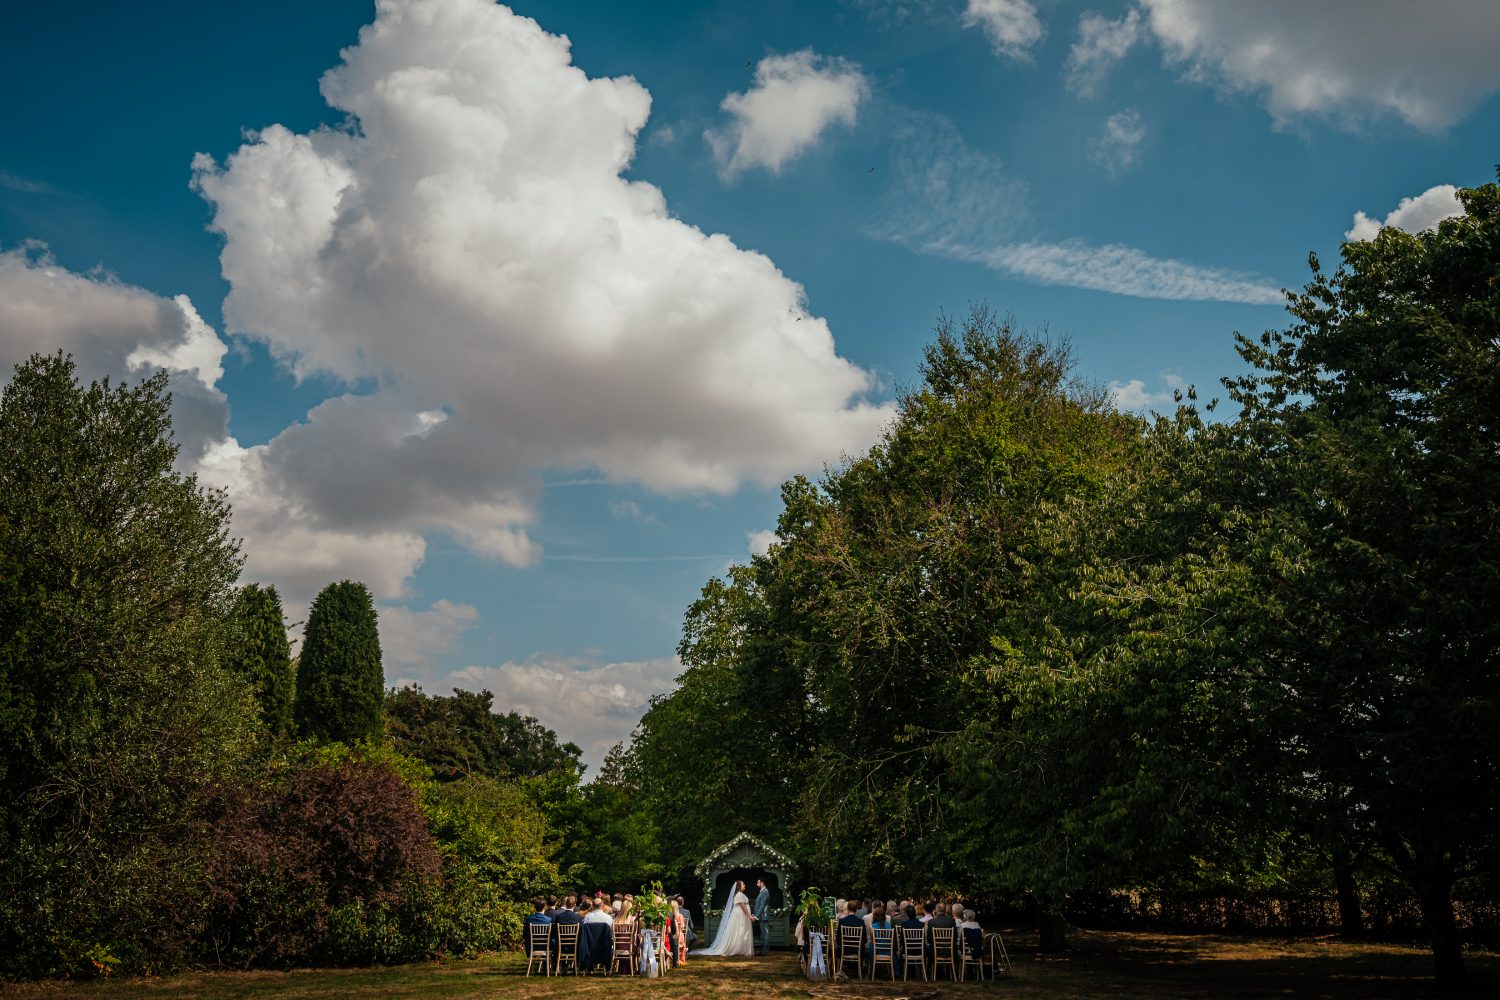
Putting a frame around a character can make them the hero of the image, when that’s not where the story is. In the image below from Colleen and Aaron’s wedding, it’s definitely where the story is, so it works well.
Obviously, it’s real life and you work with what you’ve really got, but when it’s captured in a photo it communicates things. And a little micro-adjustment can communicate something else completely. That’s the wonder of photography and something to be mindful of.
The luxury of time (or, anxiety is the dizzyness of freedom)
Obviously, on a busy wedding day, constructing an image like this can take time, and your attention is often being pulled elsewhere. You ultimately have to make the call – am I going to take the gamble. Is this worth it? Or (as Dom and
Liam’s is book is titled) – is this something?
Worth mentioning too – a lot of the photographers who are known for this are two-people teams. One can be off hunting a photo whilst the other is getting the group shots done or capturing something more conventional the couple have asked for. Don’t beat yourself up too much if you aren’t yielding that many from each wedding. I’ve certainly walked away with a lot more from two-photographer weddings than when shooting solo.
Photographers to check out
If you want to see this done properly, these are the people I’d point you toward:
- Alex Webb – the king of multilayered street photography
- York Place Studios – they literally wrote the book on this
- Nikos Economopoulos
- The Mateers
- Lyndsay Goddard

Where this leaves you
None of the above is a formula. You can’t follow these seven points in order and come out the other end with a Webb photo – if it were that simple everyone would have one on their wall. What you can do is put yourself in the way of it more often: know what you’re looking for, have your settings dialled in before it happens – and be prepared to have to make a decision about whether to walk away or commit to the potential you see.
I’ve written this out in full because it’s the kind of thing I’d otherwise end up explaining piece by piece to anyone I mentor – and I’d rather not spend our time together on technique when technique is the easy part to learn on your own. The harder part, the part I actually want to get into when I mentor someone, is what you’re trying to say and where you’re trying to go. That’s a conversation, not a checklist, and it’s a much better use of an hour than me talking you through f-stops and lenses.
So consider this the reading list. If you want to go further – actually look at your own work, figure out what you’re circling around, and get someone else’s eyes on it – that’s what mentoring is for. Details are on the mentoring page.

Articles for Photographers
How to Shoot Multilayered Documentary Wedding Photos
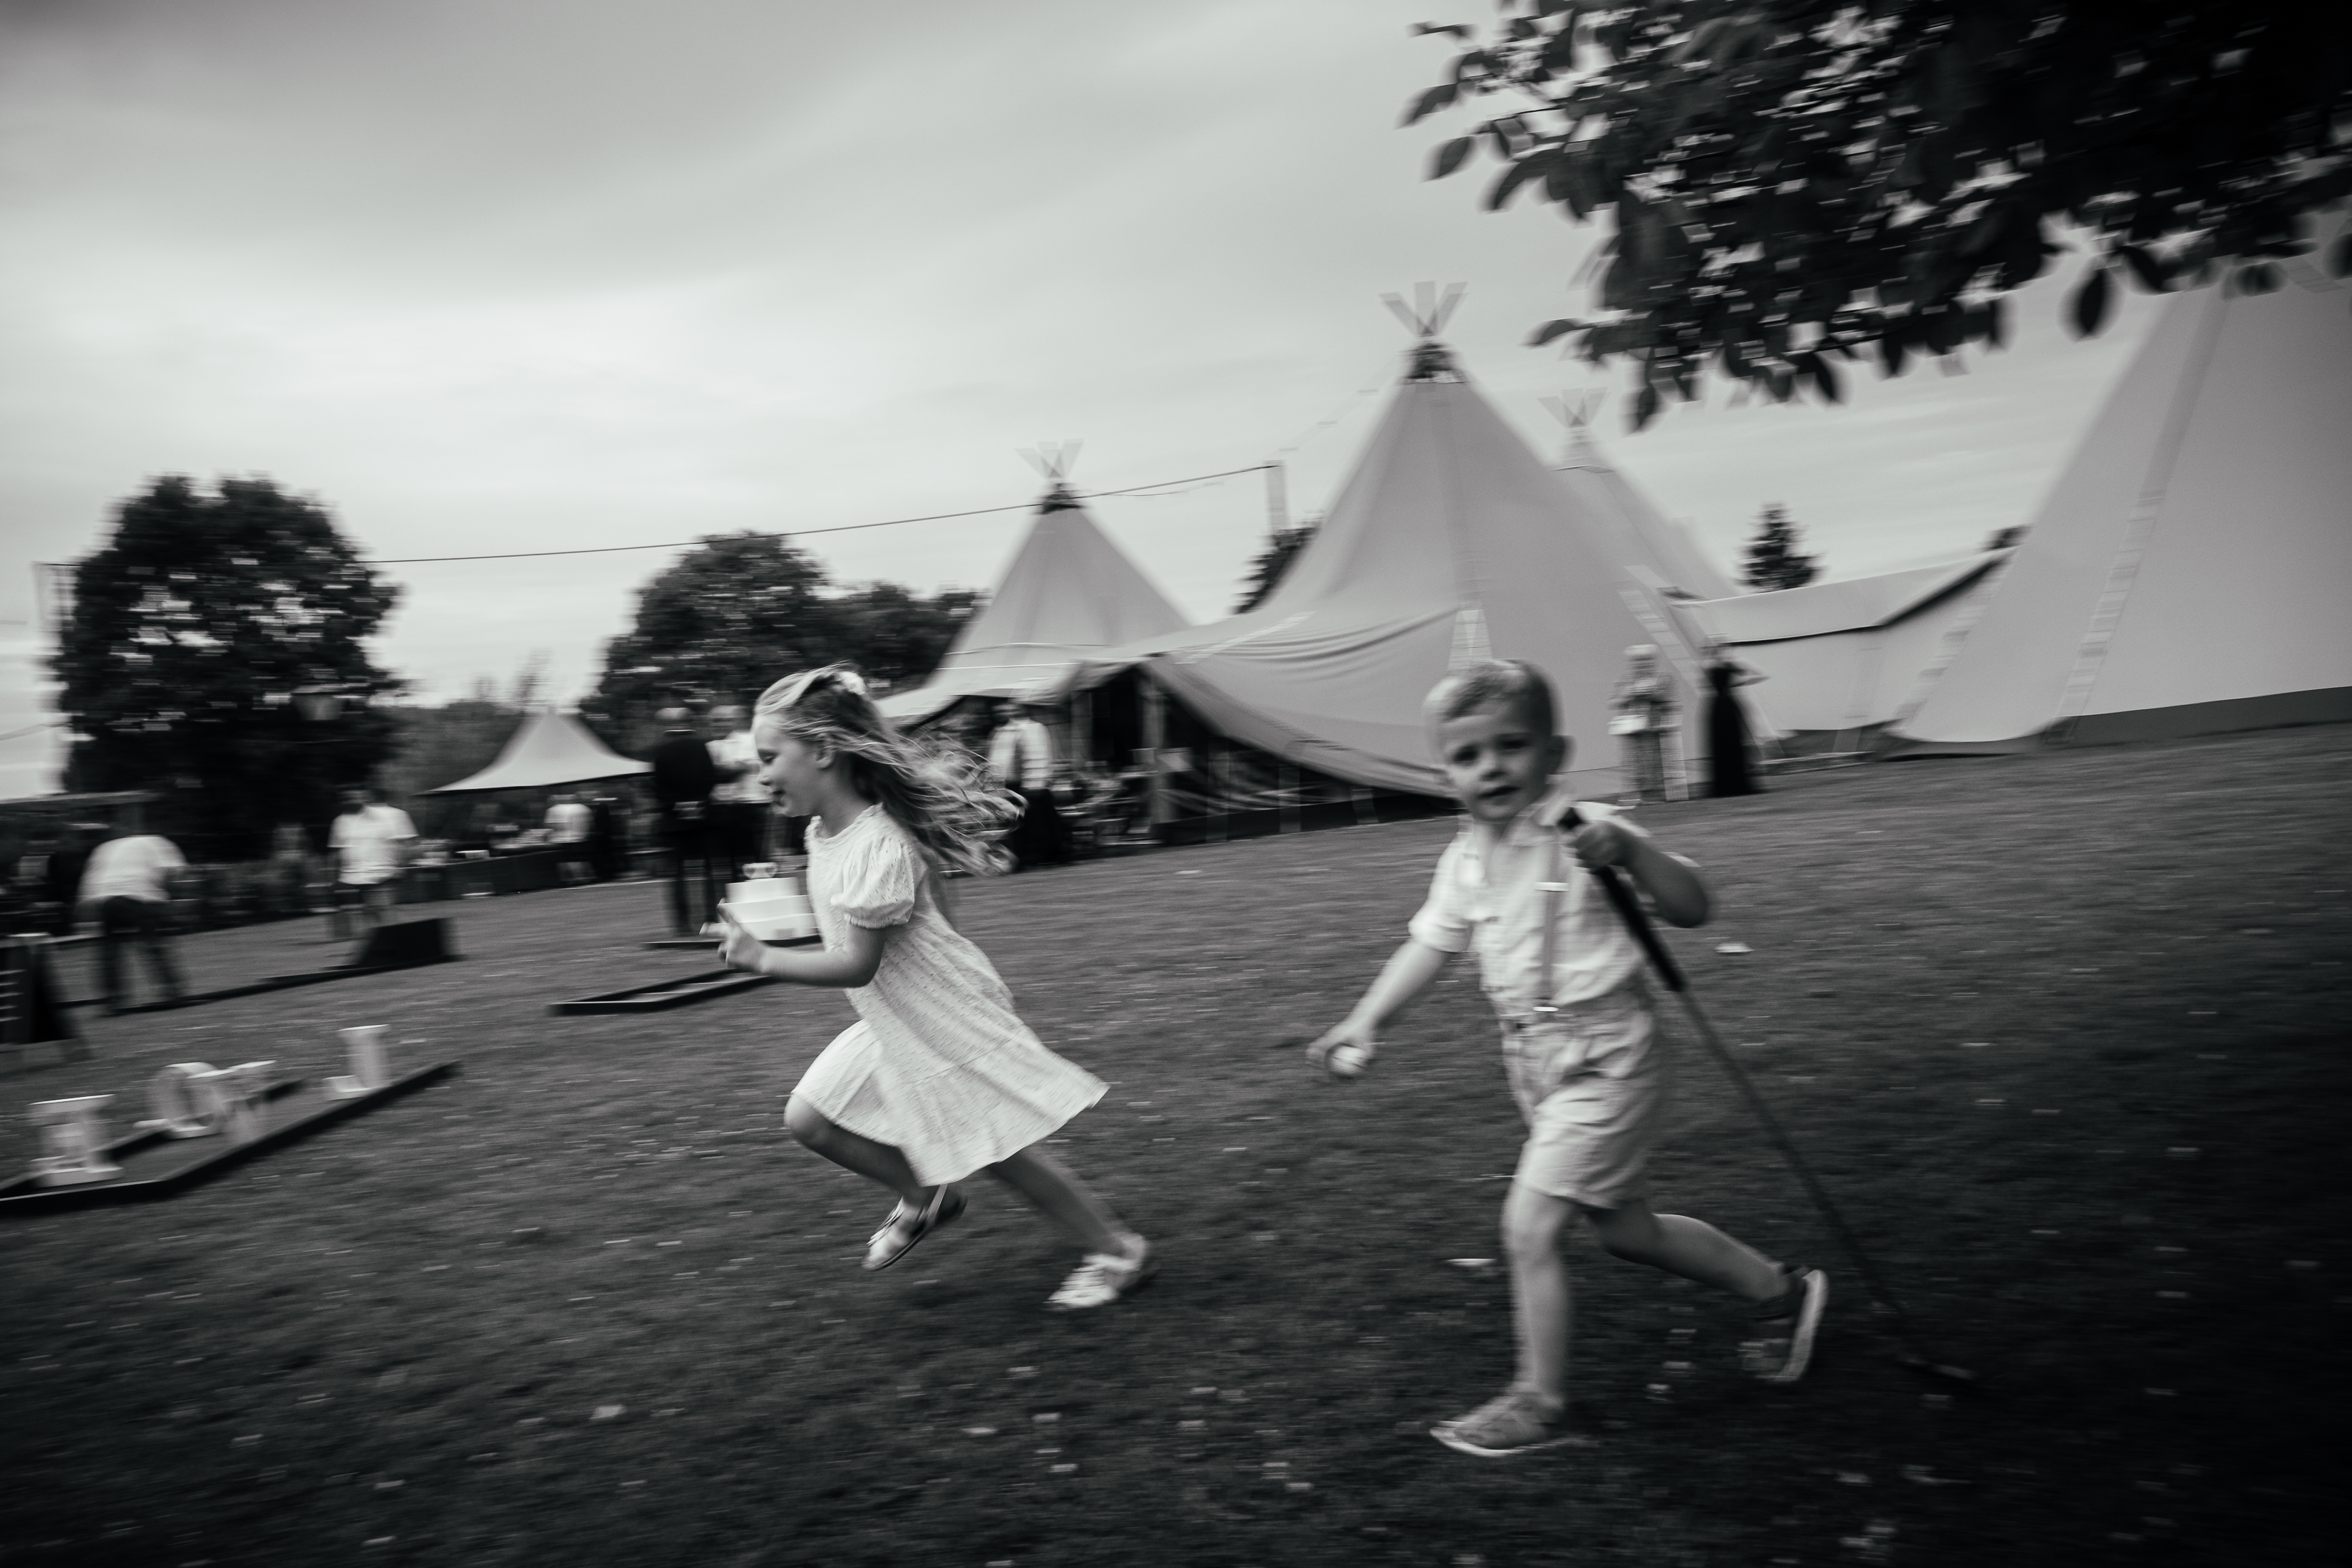
Nothing To Do With Wedding Photography
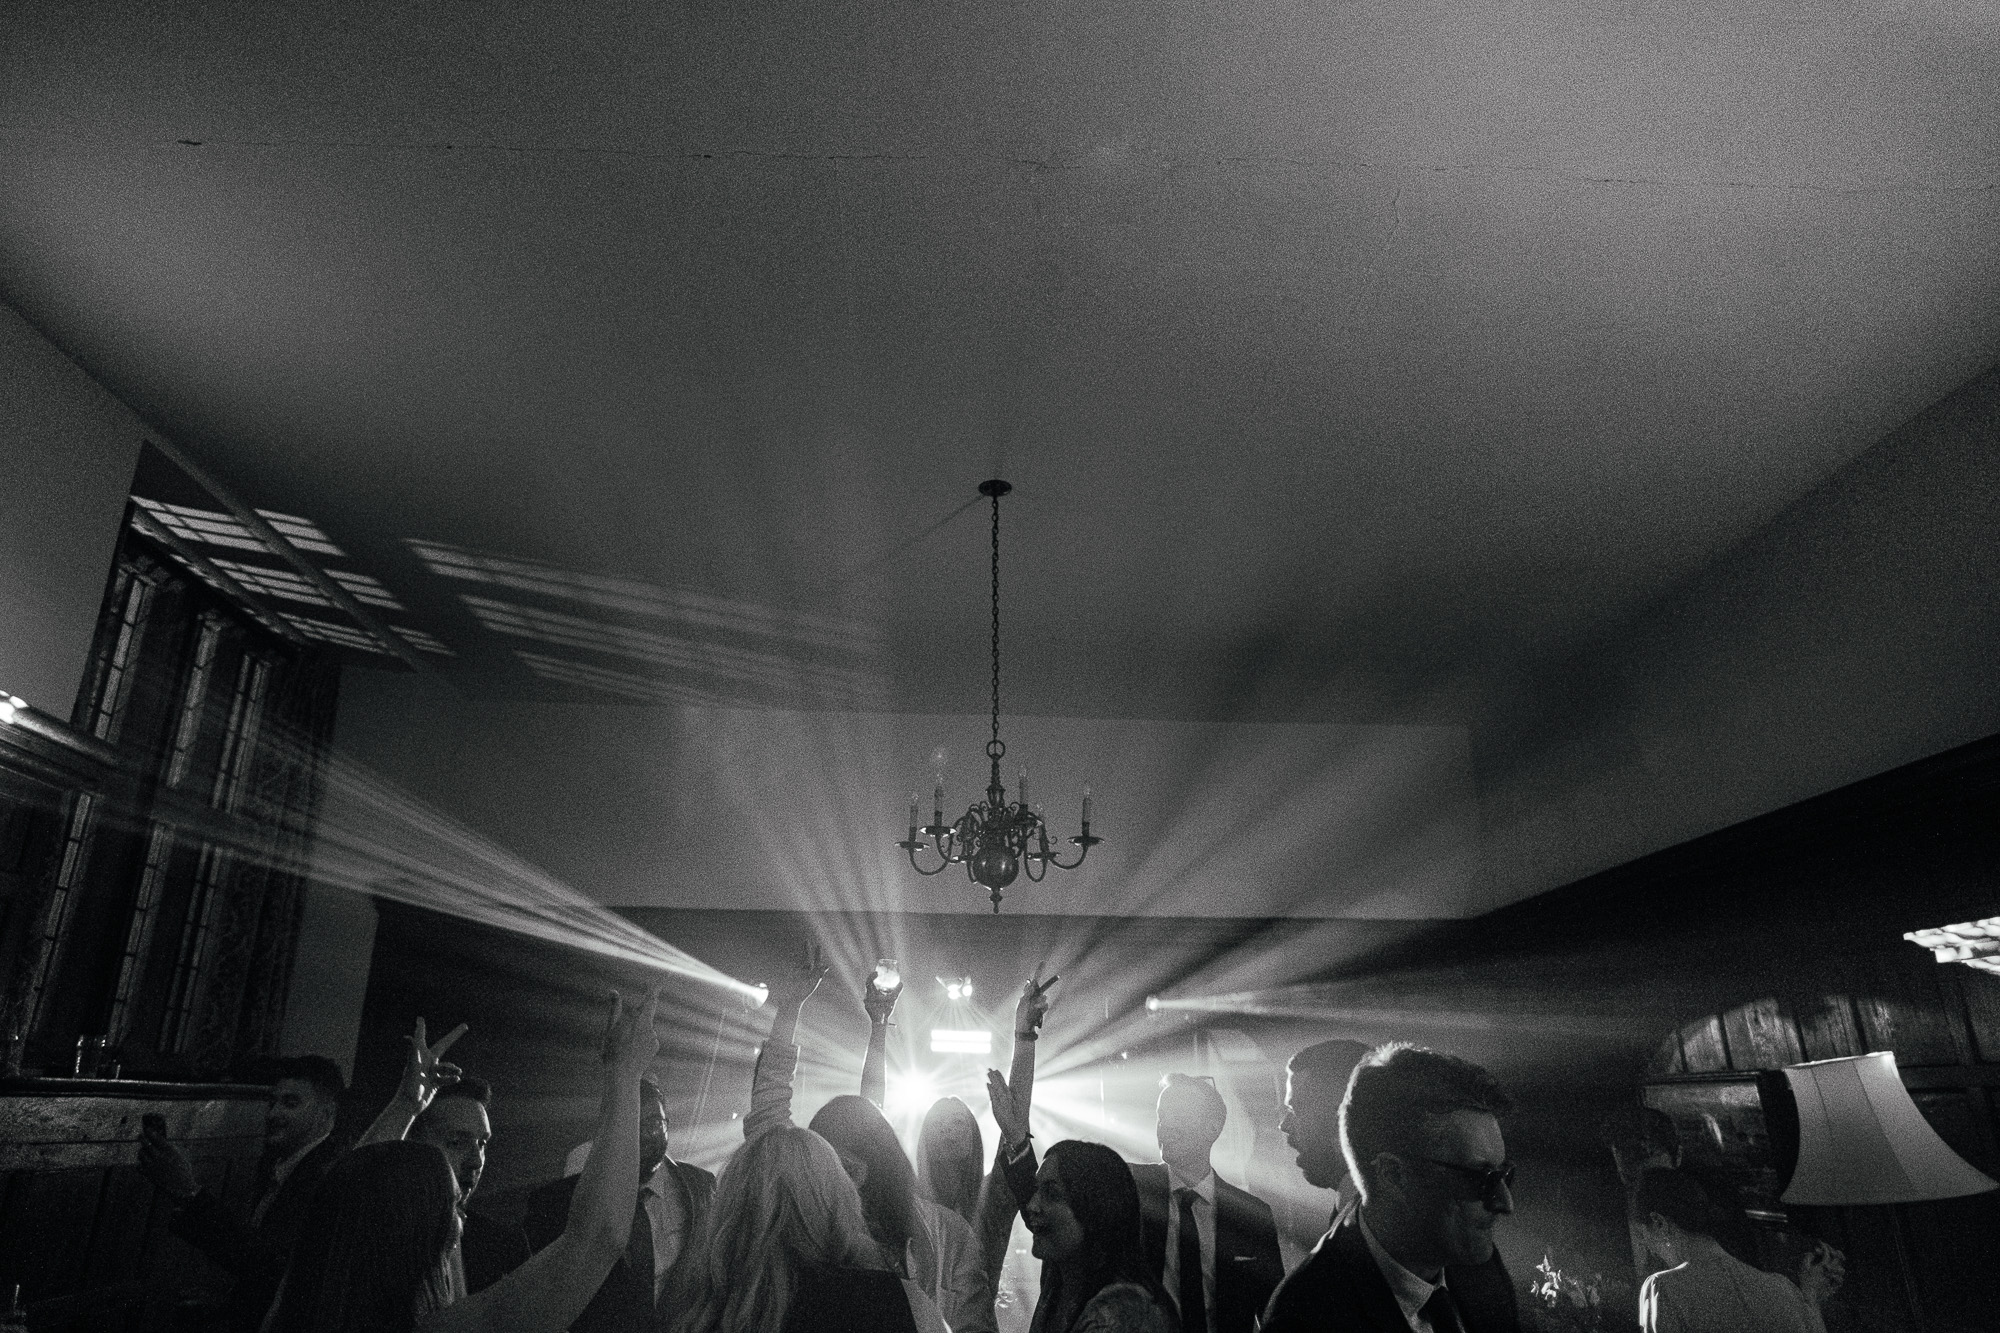
So You Want To Be a Wedding Photographer?
Bokeh is Lying to you
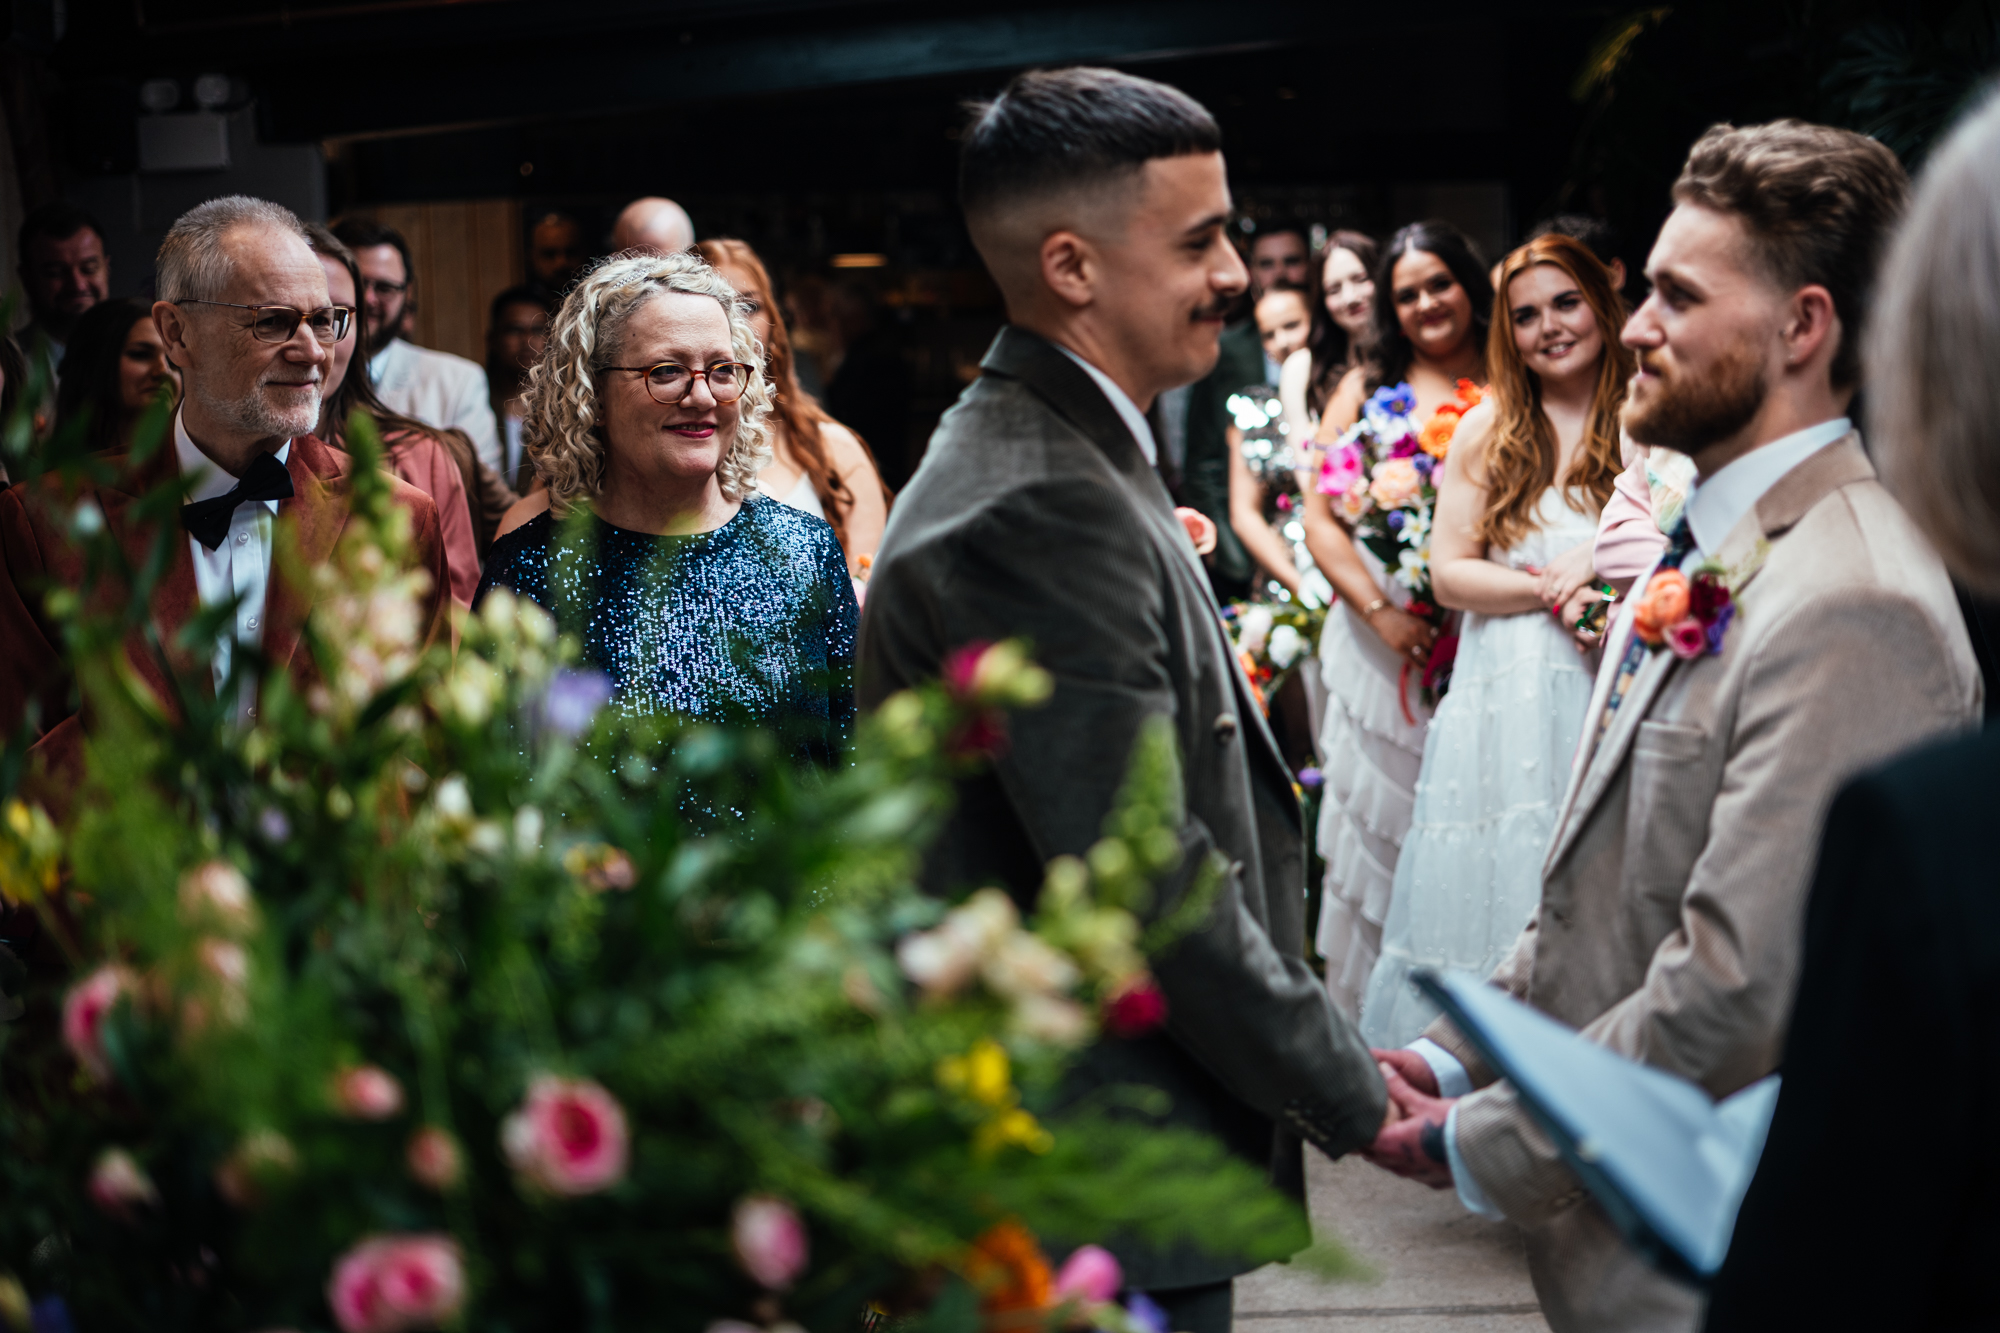
Simon’s Wedding Photography Predictions for 2026
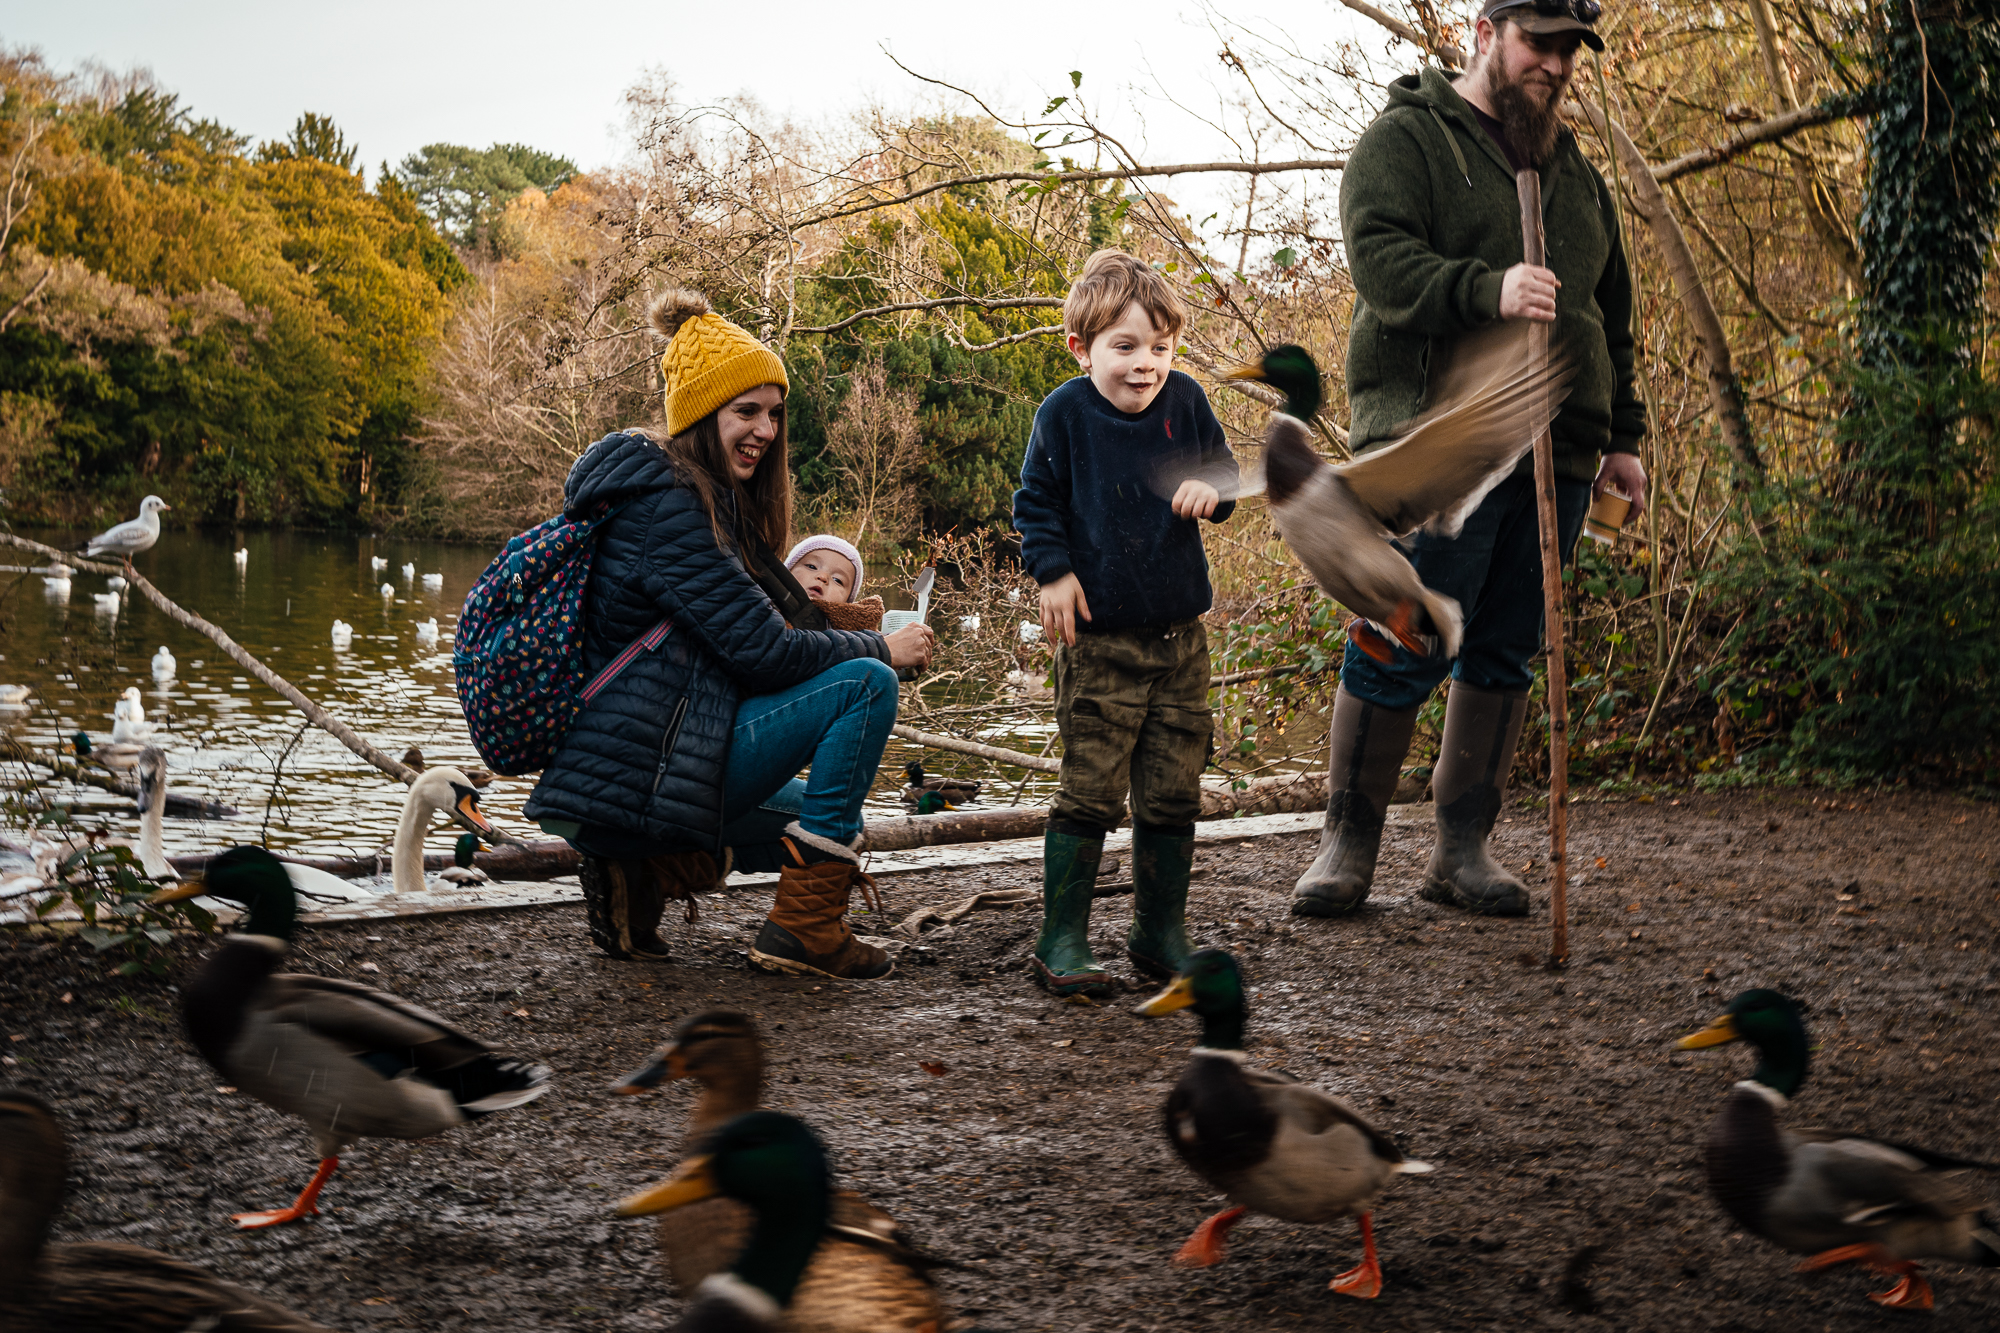
Nikon ZF and the Voigtlander 40mm f/1.2
Natural Light – Documentary Wedding Photography Without Flash
Cinematic Wedding Photography
Perfectly Imperfect Photography
Weddings With The Fuji X-T5
Finding Your Voice As A Photographer
How to make your digital photos look like analogue film
Wedding Dance Floor Photographer